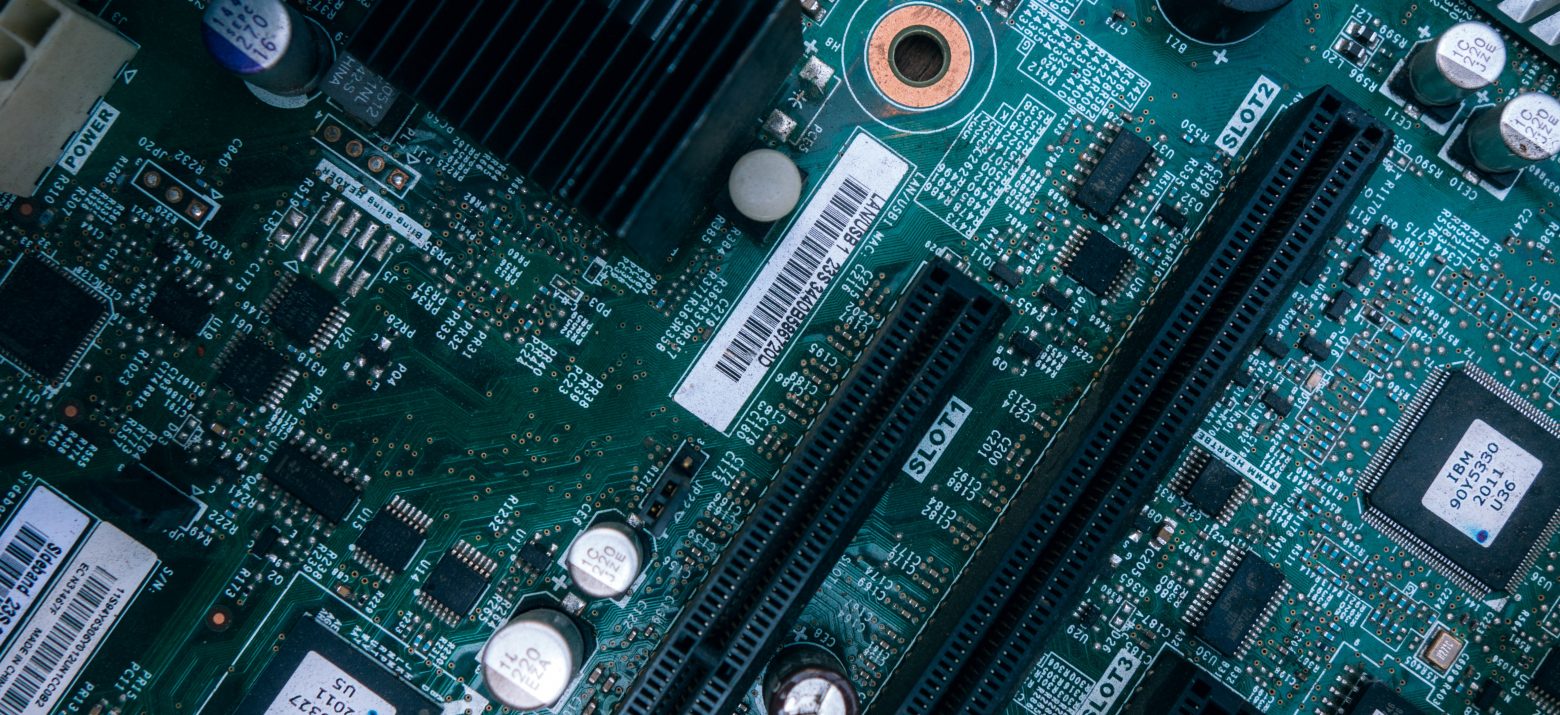
Building a home or office Linux lab starts with hardware, perhaps an old desktop or laptop, some PCs you picked up for cheap at work or on eBay, or even new gear purchased with the express intent of using it for testing. Regardless of how you acquired it — and how much you paid or are about to pay — here are some guidelines.
Make sure it’s 64-bit
Unless you’re planning to jam your lab full of hardware, you’re going to be running your lab servers on virtual machines. Virtualization software, including VMware, VirtualBox, KVM and Xen, all require the host systems that support resource sharing. Most 64-bit systems do. Alas, older 32-bit systems do not.
If the system you have in mind has Linux running on it, you can check with this simple command:
$ egrep ‘(svm|vmx)’ /proc/cpuinfo
This searches the information about the machine’s CPU and determines if the AMD (svm) or Intel (vmx) chip has the support. It does if the output produces what looks like two or more lists of flags with either term.
For Windows, things are little more complicated. Check out this Tiny Internet Project article I wrote for Linux Journal.
Now, just because you have a few older 32-bit machines lying around doesn’t mean you can’t use those in your lab. Most Linux distributions offer server versions that run on that equipment. You won’t be able to run VMs on those systems, but you can definitely add them to your cluster. I’ve used older Dell Netbooks to do just that.
Old vs. New
I’m a big proponent of putting old, so-called worn out hardware to use in a lab. When it comes to Linux, almost everything you can get your hands on can become a server. Here’s an example of the cast-off stuff I’ve used over the years:
- The aforementioned Dell Netbook 9s with 32-bit chips and 2 Gb of RAM
- A Macbook circa 2006 with a 32-bit Intel chip and 2 Gb of RAM
- Dell towers of all shapes and sizes
- Lenovo T70, with a 64-bit dual core chip and 4 Gb of RAM
- An Advance Micro tower with Intel quadcore i3 and 8 Gb of RAM
- A Mac Mini with Intel quadcore i5 and 8 Gb of RAM
When I started to do a lot more in my lab, I bought a fanless mini computer that was not only silent, but had dual network ports, built-in wireless, Intel i5 and 16Gb of RAM — all for about $450. This is a Kingdel and I’ve gone on to buy several more.
Don’t forget the network gear
Most older PCs (and Macs) come with a single 100 Mb or 1 Gb Ethernet port, which is fine in most cases. For the times when I want two different networks, I found that cheap USB-to-Ethernet dongles are the best. Be sure to get USB 3.0 or better versions for the best throughput (assuming the PC you’re plugging it into has USB 3.0). These behave nicely, are easy to configure, and help you avoid annoying wifi headaches.
Finally, in order to isolate your lab from the rest of the network traffic in your home or office, I recommend a second switch or router. This could easily be an old four-port wifi router you have lying around. I use one of those plus an 8-port gigabit switch that cost about $25 on Amazon.com.
If you can get everything connected on a 1 Gb network, local file transfers and cluster activity will be much faster — and keep from dragging down Netflix users. It’s also more secure and, ultimately, a safer way to bang away and learn without messing up the network everyone relies on.
